Causes and prevention of unwanted bubbles
Bubbles can be a huge problem for the beginning kilnformer. These can develop between layers of glass or between the glass and the kiln shelf. Fortunately, these can usually be prevented, and when they occur, they can usually be diagnosed.
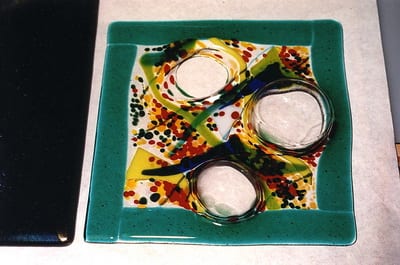
Bubbles between the shelf and the glass
Bubbles between the shelf and the glass imply that glass was trapped under the glass, and could not find a way out, other than through the glass.
A few tips to know:
- Always check a new shelf for “flatness”. Put a straight edge across it in several directions. If you can see light under the straightedge, you may have a warped shelf.
- Bullseye sells shelves that are guaranteed to be flat. Shelves from ceramic suppliers may not be flat, because that is not a particular issue for ceramic artists.
- Using some sort of porous fiber paper under your glass will give air a route to escape.
- Be careful not to fire too fast or too hot. This can make it so that air does not have a chance to escape from under the glass.
- If you are using shelf separator, make sure it is dry before you place your glass on the shelf.
- Always use at least 6mm (1/4″, or two layers) of glass in your project. Less than 6mm will cause the glass to shrink and possibly bubble.
Bubbles between layers of glass
Bubbles between layers of glass can be seen as large bubbles when using transparent glass, or as bumps on the surface of the glass when using opals. Keep in mind that with Bullseye glass, you will always have the tiny “champagne” bubbles that are within the glass itself, and will not go away. What we are referring to here are larger, unsightly bubbles that develop related to improper fusing techniques. Bubbles between layers of glass can occur for several reasons:
- You are not using “double rolled” glass. This is smoother and has less indentations to trap air as compared to “single rolled”.
- You fired too hot and too fast.
- Your layup of glass predisposed to air trapping. Smaller design elements should go on top of the glass, not between layers.
- You had wide seams between pieces of glass in the lower layers.
- The area of glass was so large, that air in the middle didn’t have time to escape the sides
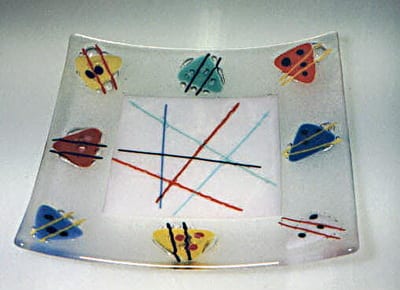
There are various solutions to these problems:
- Only use double rolled glass.
- Slow down your firing schedule, and add a “bubble squeeze” to your program. There are various bubble squeese schedules, but the one I use slows the ramp-up between 1150F and 1250F to 50 degrees per hour. This allows any trapped air time to escape out the sides.
- Try to cut all seams as precisely as possible.
- Consider putting small pieces of glass (“chads”) around the edges between the layers, so the center will drop first, and push the air toward the edges. But, be aware that they will often leave evidence of their presence in the final appearance. I have not found these necessary, but they are a viable solution.
Creating Desired Bubbles
There are times when you do want bubbles in your pieces as a design or textural element. You can purposely trap bubbles by your layup. You can do this with reeded glass, strips of stringers, or strips of glass.
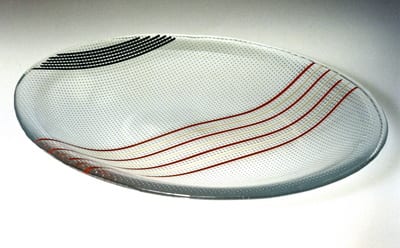
You can also create and trap bubbles by placing something between the layers that creates gas of some kind.
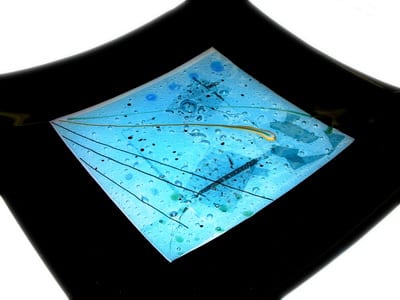
Bubbles can be your friend or your enemy, but it is important to learn to control them. I hope this has been helpful.
If you are a kiln glass artist, and are interested in one of the best and most cost effective methods of learning both basic and advanced techniques, the Bullseye Kiln-glass Education Online video lessons are fantastic. Click on the link below to see the free ones, and consider signing up for the rest.
