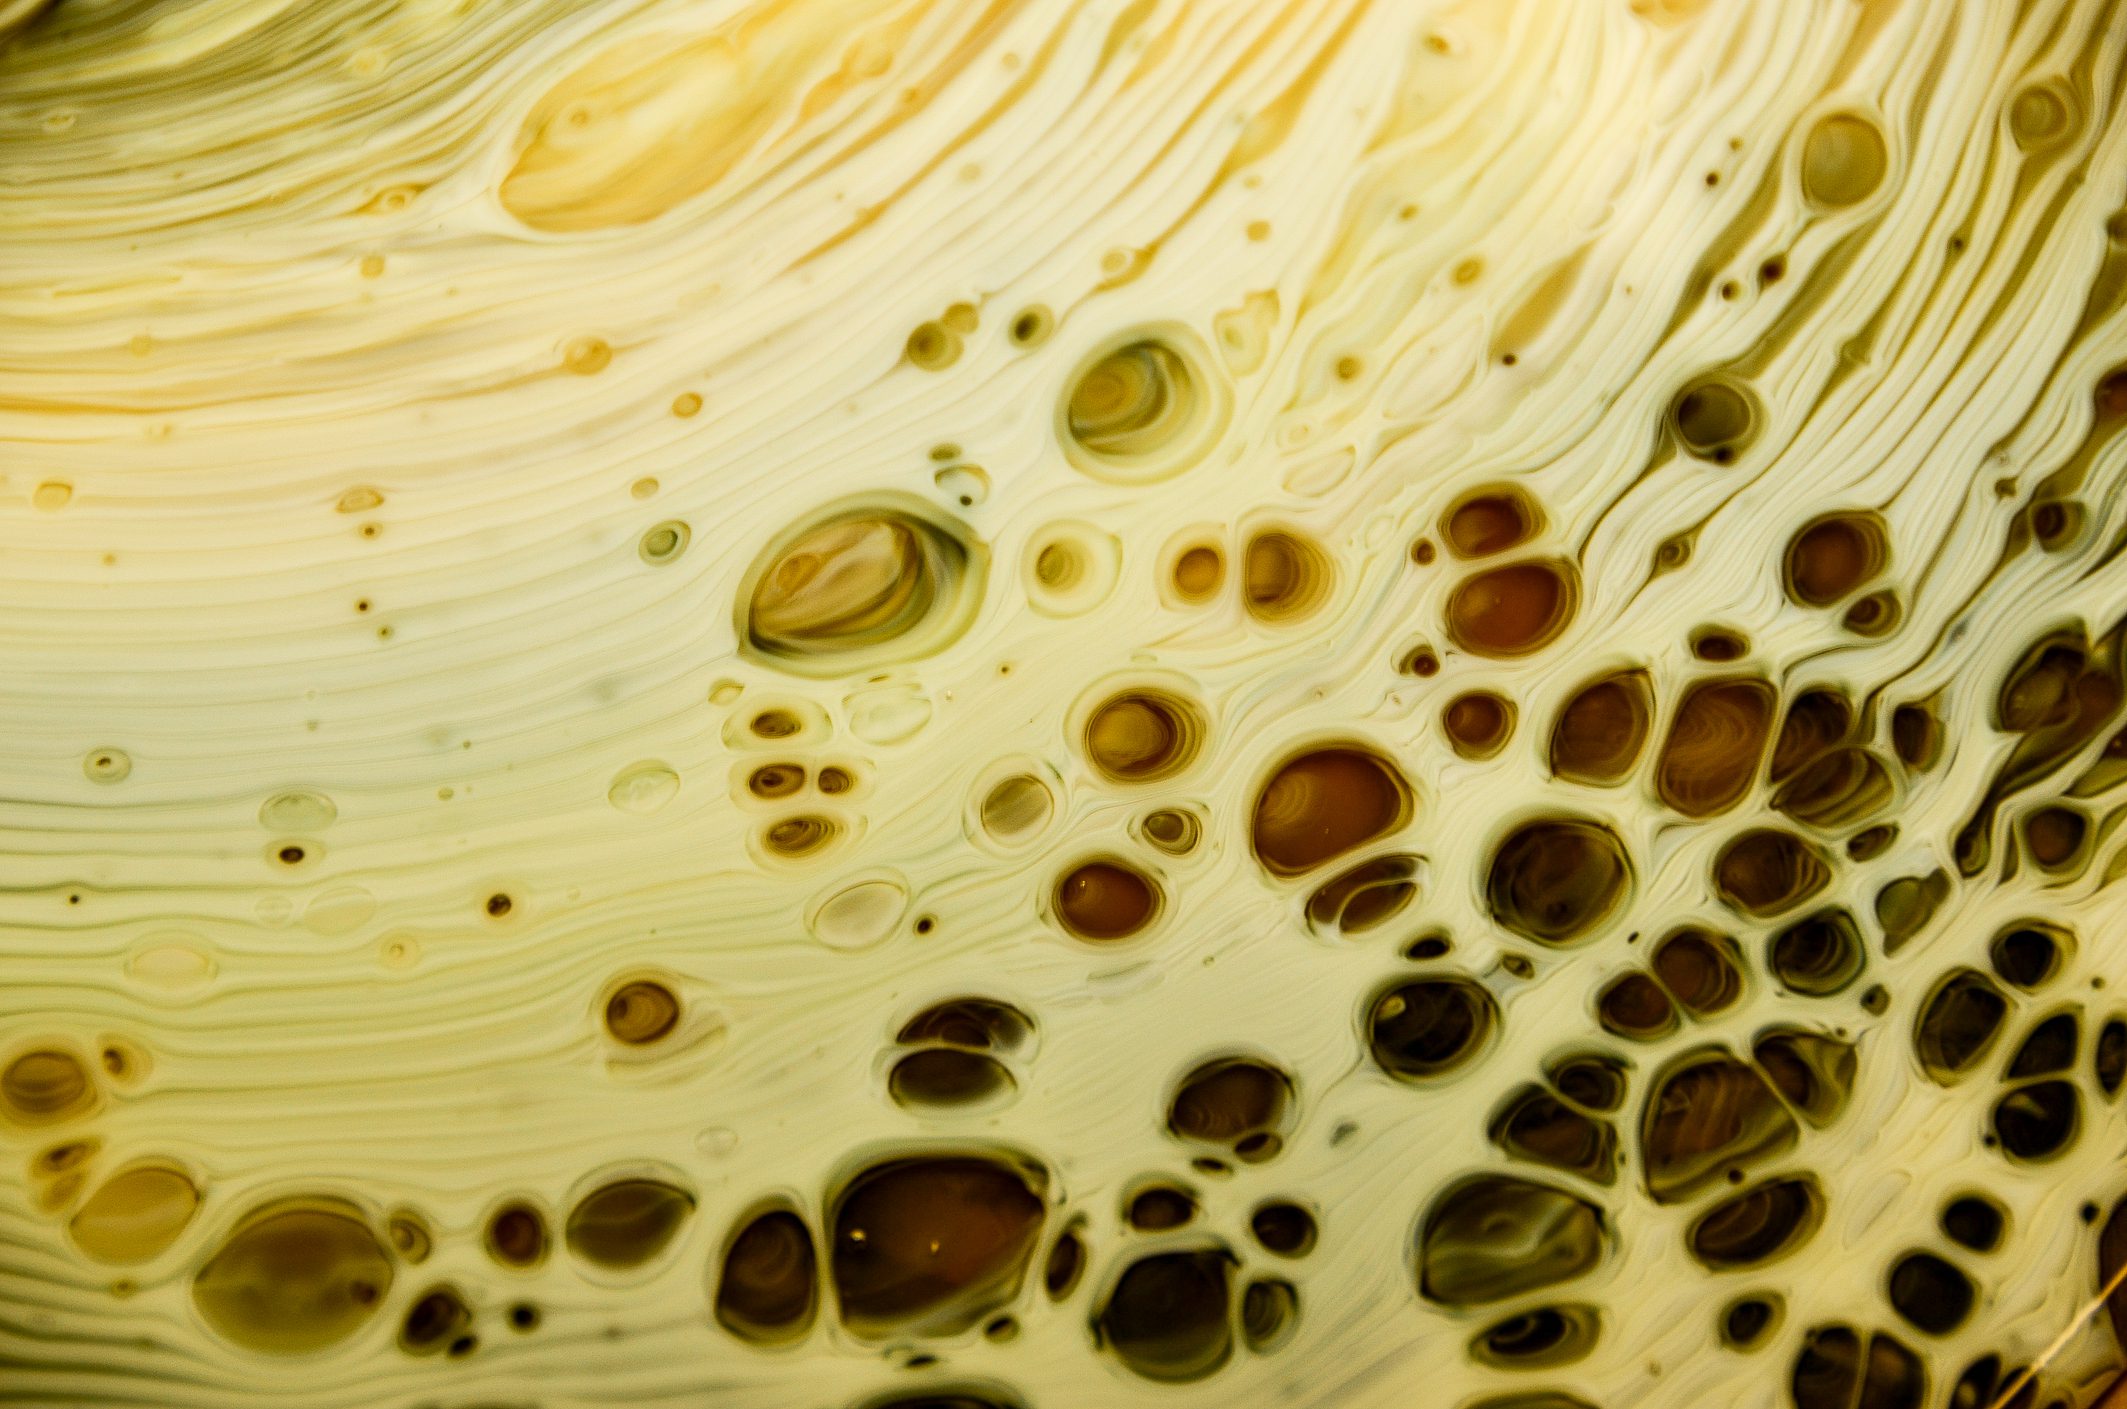
An aperture pour (or pot melt, pot drop, or shelf melt) is a method to create an organic, swirly, interesting mixture of glasses using a kiln. The basic idea is to fill a flower pot with a mixture of glasses, and heat it very hot so that the molten glass has a low enough viscosity to pour through the hole (or aperture) in the bottom of the pot.
The glass can be allowed to flow onto a prepared shelf, into a mold, or into an enclosure of some kind.
The pot can have a single hole, a rectangular opening, or multiple holes.
The appearance of the melt can be varied by the distance between the pot and the shelf.
An object can be placed between the pot and the shelf to disrupt the flow and change the resulting pattern.
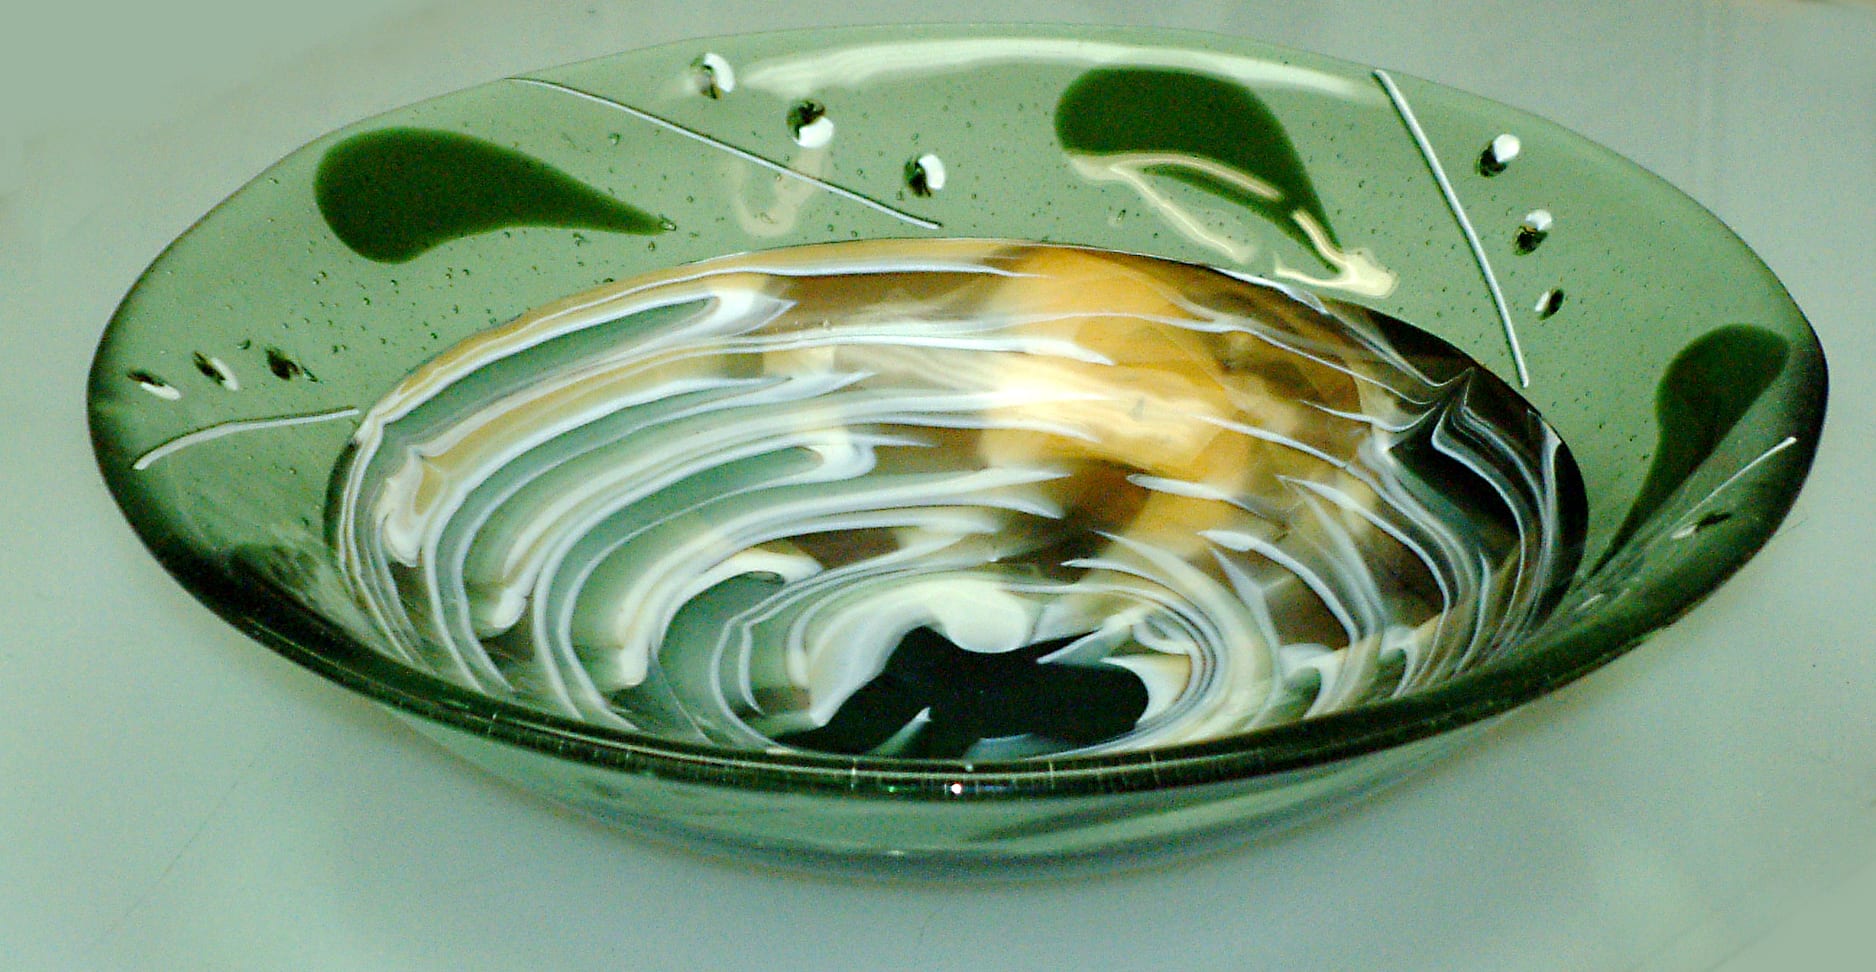
The resulting melt can be used in its entirety as a sculpture or bowl, or it can be cut up with a tile saw and the cut sections used as design elements in another project.
Making an Aperture Pour
Preparing the pot
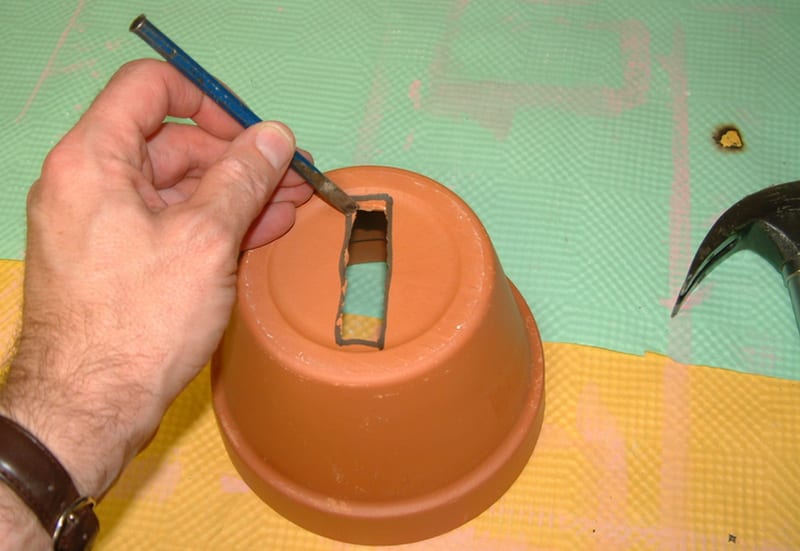
First, enlarge the hole in the bottom of the flowerpot. This can be round, rectangular, or whatever shape you want. If it is too small, it will take a long time for the glass to flow out of the hole. I rarely use a round hole smaller than 7/8″ in diameter.
I like enlarging the hole by marking the dimensions with a pencil or marker, and then, using a chisel and hammer, chip away at the edges until it is the size I want. It is not important if the edges are smooth, or the shape is exact.
Alternatively, one can use a drill with a masonry bit to enlarge the hole.
Choosing and arranging the glass
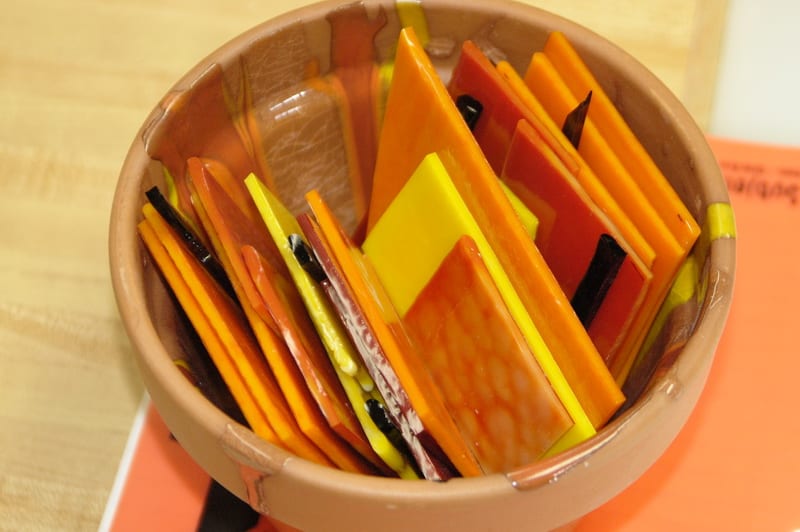
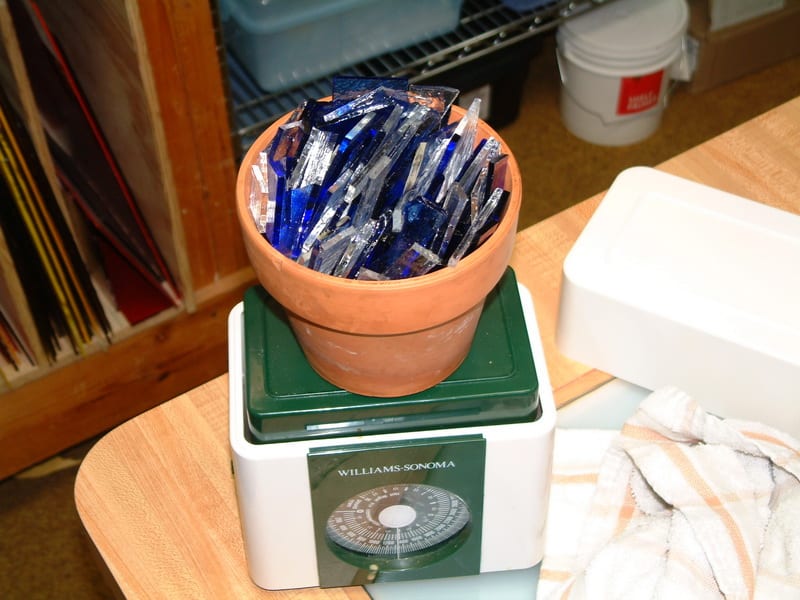
Place the glass in the pot. The glass can be placed in many different configurations to get different effects.
Note that I’ve only used a tiny amount of black glass. Black has a tendency to overwhelm the other colors.
Note: I only use Bullseye glass. Bullseye glass is formulated to be heated to 1500F for fusing. We are going well beyond that parameter, and that may have unexpected consequences. For example, Bullseye Opaque White has a tendency to shift compatibility at these temps. I have had problems with pink and cranberry colors also. It is best to avoid those colors. Transparent reds and oranges will turn opalescent and muddy brown.
You also must also be aware of chemical reactions between various colors. These can be very prominent when mixed , and may give surprising results (usually in an unwanted fashion).
The link below will take you to the Bullseye Glass web site. If you click on a glass color, and then the “sheet glass” tab, you will see a description of the characteristics of the glass, and information about possible reactions.
Determining the amount of glass
Three pounds of glass will result in a melt approximately 11″ in diameter.
Fusedglass.org has a calculator that will help you determine how much glass to use: Link to Pot Drop Calculator.
Do not apply kilnwash or shelf separator to the pot. Yes, glass will stick to the pot, but you can still use the pot again if you’re using similar colors. If you put kilnwash on the pot, you run the risk of getting particles of kilnwash in the melt.
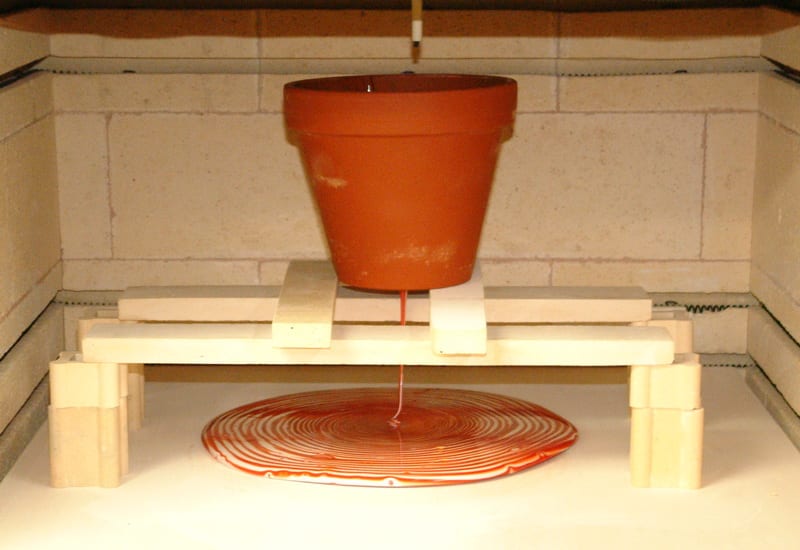
Kiln setup
Here is a simple kiln setup. I am using a Paragon GL22AD kiln, 5″ of vertical kiln posts. Mullite shelf with 6 thick coats of kiln wash, placed on 1/2″ kiln posts. Place pot as centered as possible in the kiln. Make sure the glass does not touch the thermocouple in the roof, and the hole is clear of the supports. I’d recommend applying kilnwash to all kiln furniture, and make sure you have applied kilnwash to the firebrick bottom of the kiln itself in case there is an accident.
If you have a very tiny kiln, you can use very small flowerpots, or even just the small ceramic flower pot trays to hold the glass. If the distance between the pot and the shelf is very small, the glass might not swirl, but you can get some interesting patterns nonetheless.
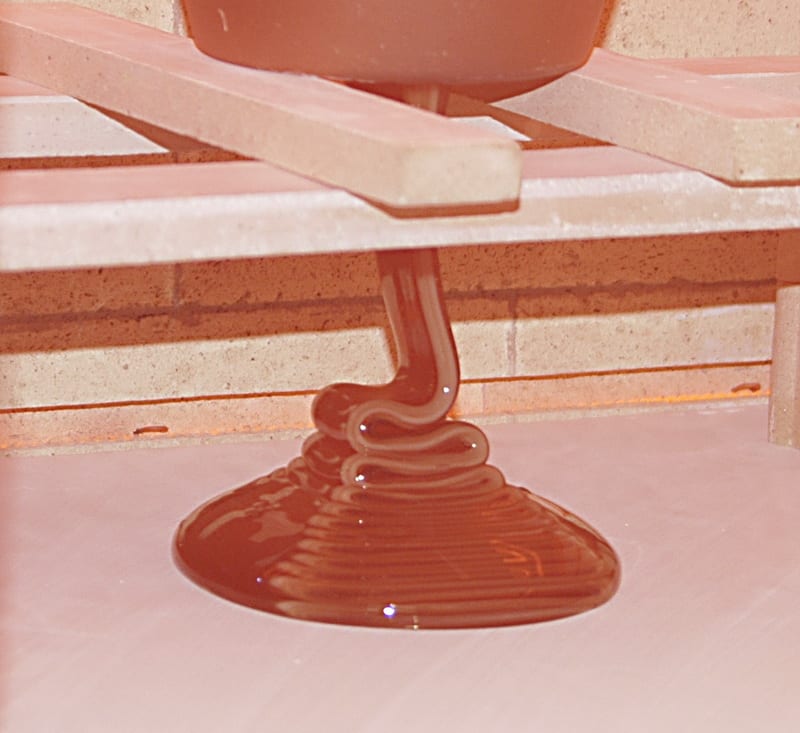
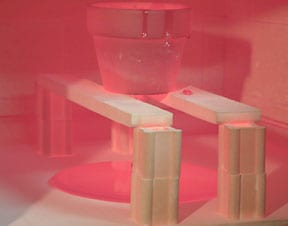
Important: If you are going to look into the kiln at 1700F you must take certain precautions. Wear protective eyewear, and even better a face shield. Wear protective high temp gloves as you open the door to the kiln. Be aware that synthetic fabrics are dangerous at these temperatures. It is safer to be wearing cotton. Synthetics can burst into flame or melt causing burns. It is best to avoid opening the kiln when it is at 1700F. The only reason I did here is to take this photo.
Firing schedule
My recommended schedule is :
1000 dph to 1000F, hold 15 min.
250 – 1100 hold 15
1000 dph to 1700, hold 90 min.
AFAP to 1500F, hold 45 min
AFAP to 900F hold 60 min
200 dph to 750F
300 dph to 300F
off
The hold time can vary depending on how quickly the glass flows out of the pot. Once it is not flowing anymore, you can move on to the next step. If there is still a strand of glass flowing from the pot, you might want to hold longer if you are concerned that there might be a stalactite. (See note below)
The slow ramp between 1000F and 1100F is to prevent cracking of the clay pot.
The hold at 1500F is only to even out the thickness of the melt (to about 1/4″), and allow bubbles to come to the surface, pop and smooth out. If there is a central “belly button” where the stalactite met the melt, it will help that smooth out also.
Note: These melts will always have kiln wash (a.k.a. shelf primer, shelf separator, etc.) adherent to the back. This will need to be sandblasted off, or removed by some other method.
-
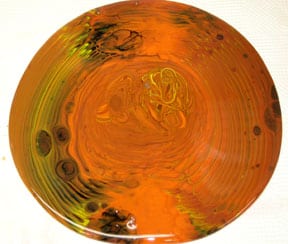
Rectangular aperture -
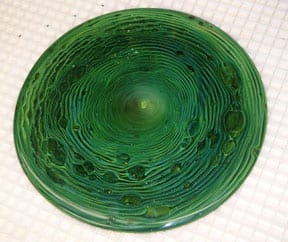
Round aperture -
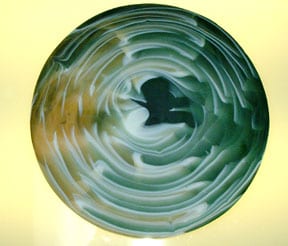
Bottom of piece to left
If you are a kiln glass artist, and are interested in one of the best and most cost effective methods of learning both basic and advanced techniques, the Bullseye Kiln-glass Education Online video lessons are fantastic. Click on the link below to see the free ones, and consider signing up for the rest.
